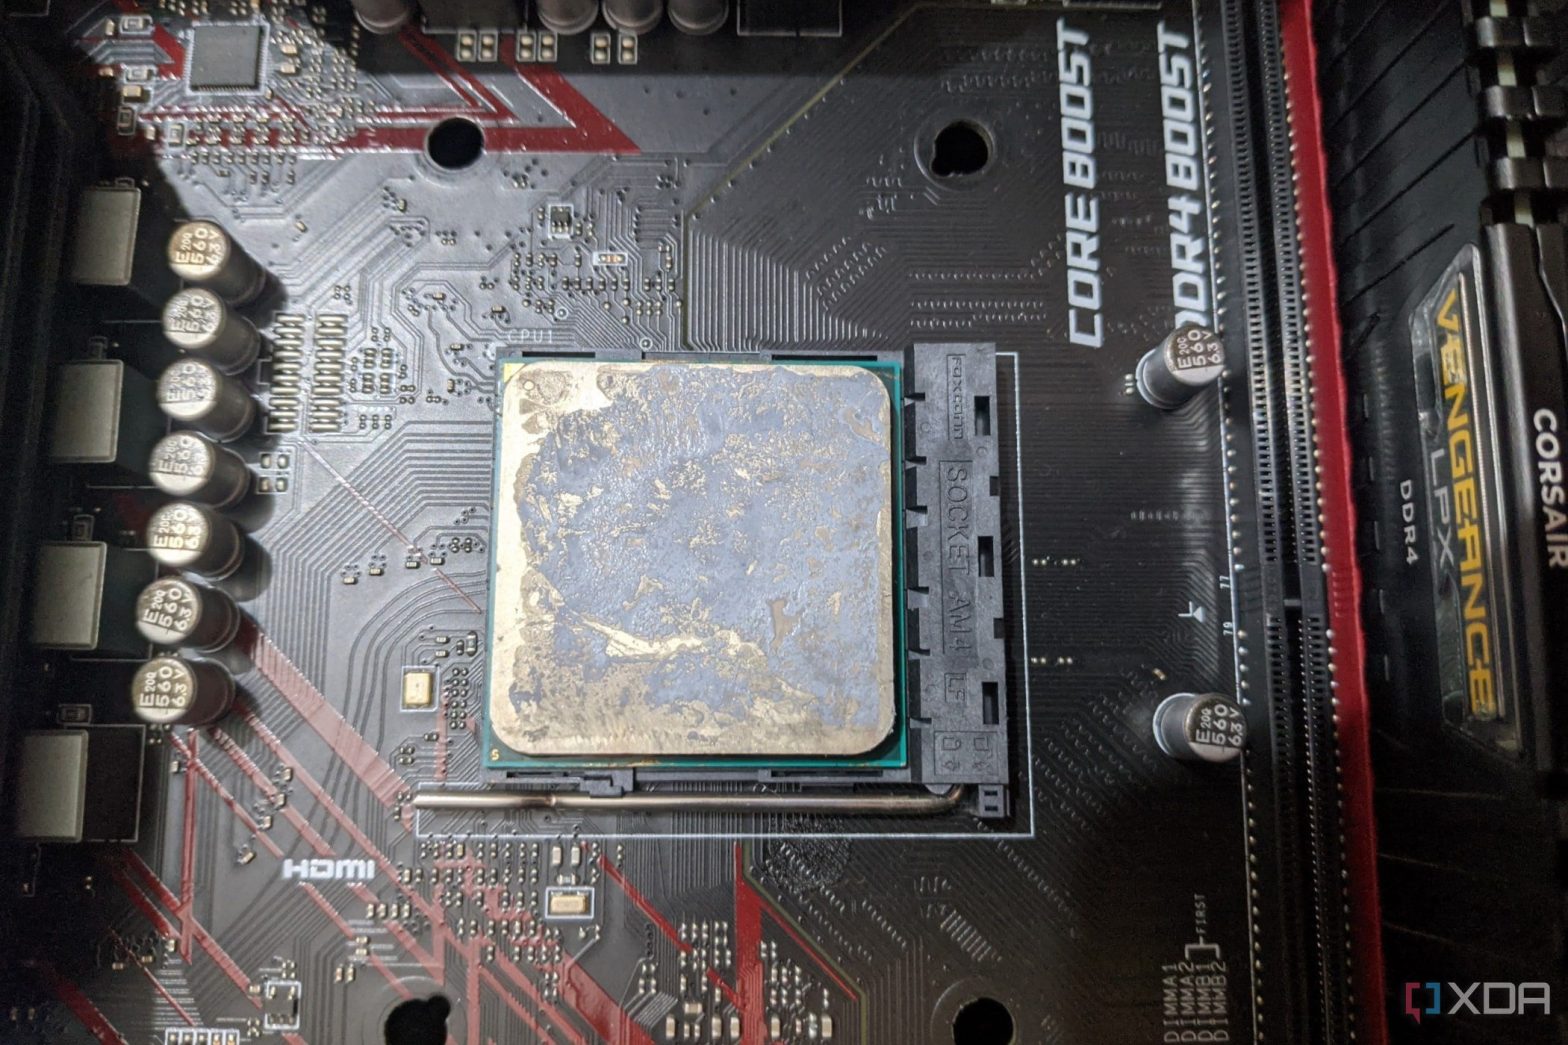
If you’re running the same hardware for a long time, it’s a good idea to perform regular maintenance to keep it in top working order. Besides cleaning your rig, removing junk files, and defragmenting drives, you can fine tune your system by reapplying the thermal paste on the CPU. Over time, the thermal paste between your processor and the heatsink can dry out and lead to high temperatures in addition to causing stability issues when you attempt to overclock the CPU.
Cleaning the thermal paste isn’t just a maintenance task either; whether you’re looking to upgrade to a high-end processor or you wish to switch to a premium CPU cooler, you’ll need to get rid of the thermal paste smeared on the CPU. So, we’ve compiled a guide detailing all the safety precautions and the steps you should take to clean the thermal paste from your CPU!
What you’ll need to clean thermal paste from your CPU
First, you’ll require a Phillips head screwdriver to unfasten the screws holding the CPU cooler in place. Since you’ll be working with fragile electronic components, I advise getting an anti-static wristband to protect the internals of your system from static discharge.
For the actual cleanup procedure, you’ll need Q-tips, and either isopropyl alcohol wipes or a bottle of isopropyl alcohol along with some highly absorbent paper towels. Ideally, you should use isopropyl alcohol with more than 90% alcohol concentration, though you can use 70% rubbing alcohol as long as you let it dry out properly.
Finally, you should get some high-quality thermal paste if you plan to put your system back together after removing the remains of the old thermal paste.
Before you begin
Before you start disassembling your PC, you should run some CPU-intensive games or benchmarks to heat up the processor and the thermal paste. Should you attempt to unmount the CPU cooler when the thermal paste is cold, it will act as a glue to bind the processor to the heatsink, and, in the worst-case scenario, you could end up ripping the CPU out of its socket.
Also, be sure to unplug your system and hold the power button for 30 seconds to get rid of the residual charge stored in the capacitors.
Unmounting the CPU cooler
Now that you’ve taken the necessary precautions, you’ll have to unmount the heatsink from the processor.
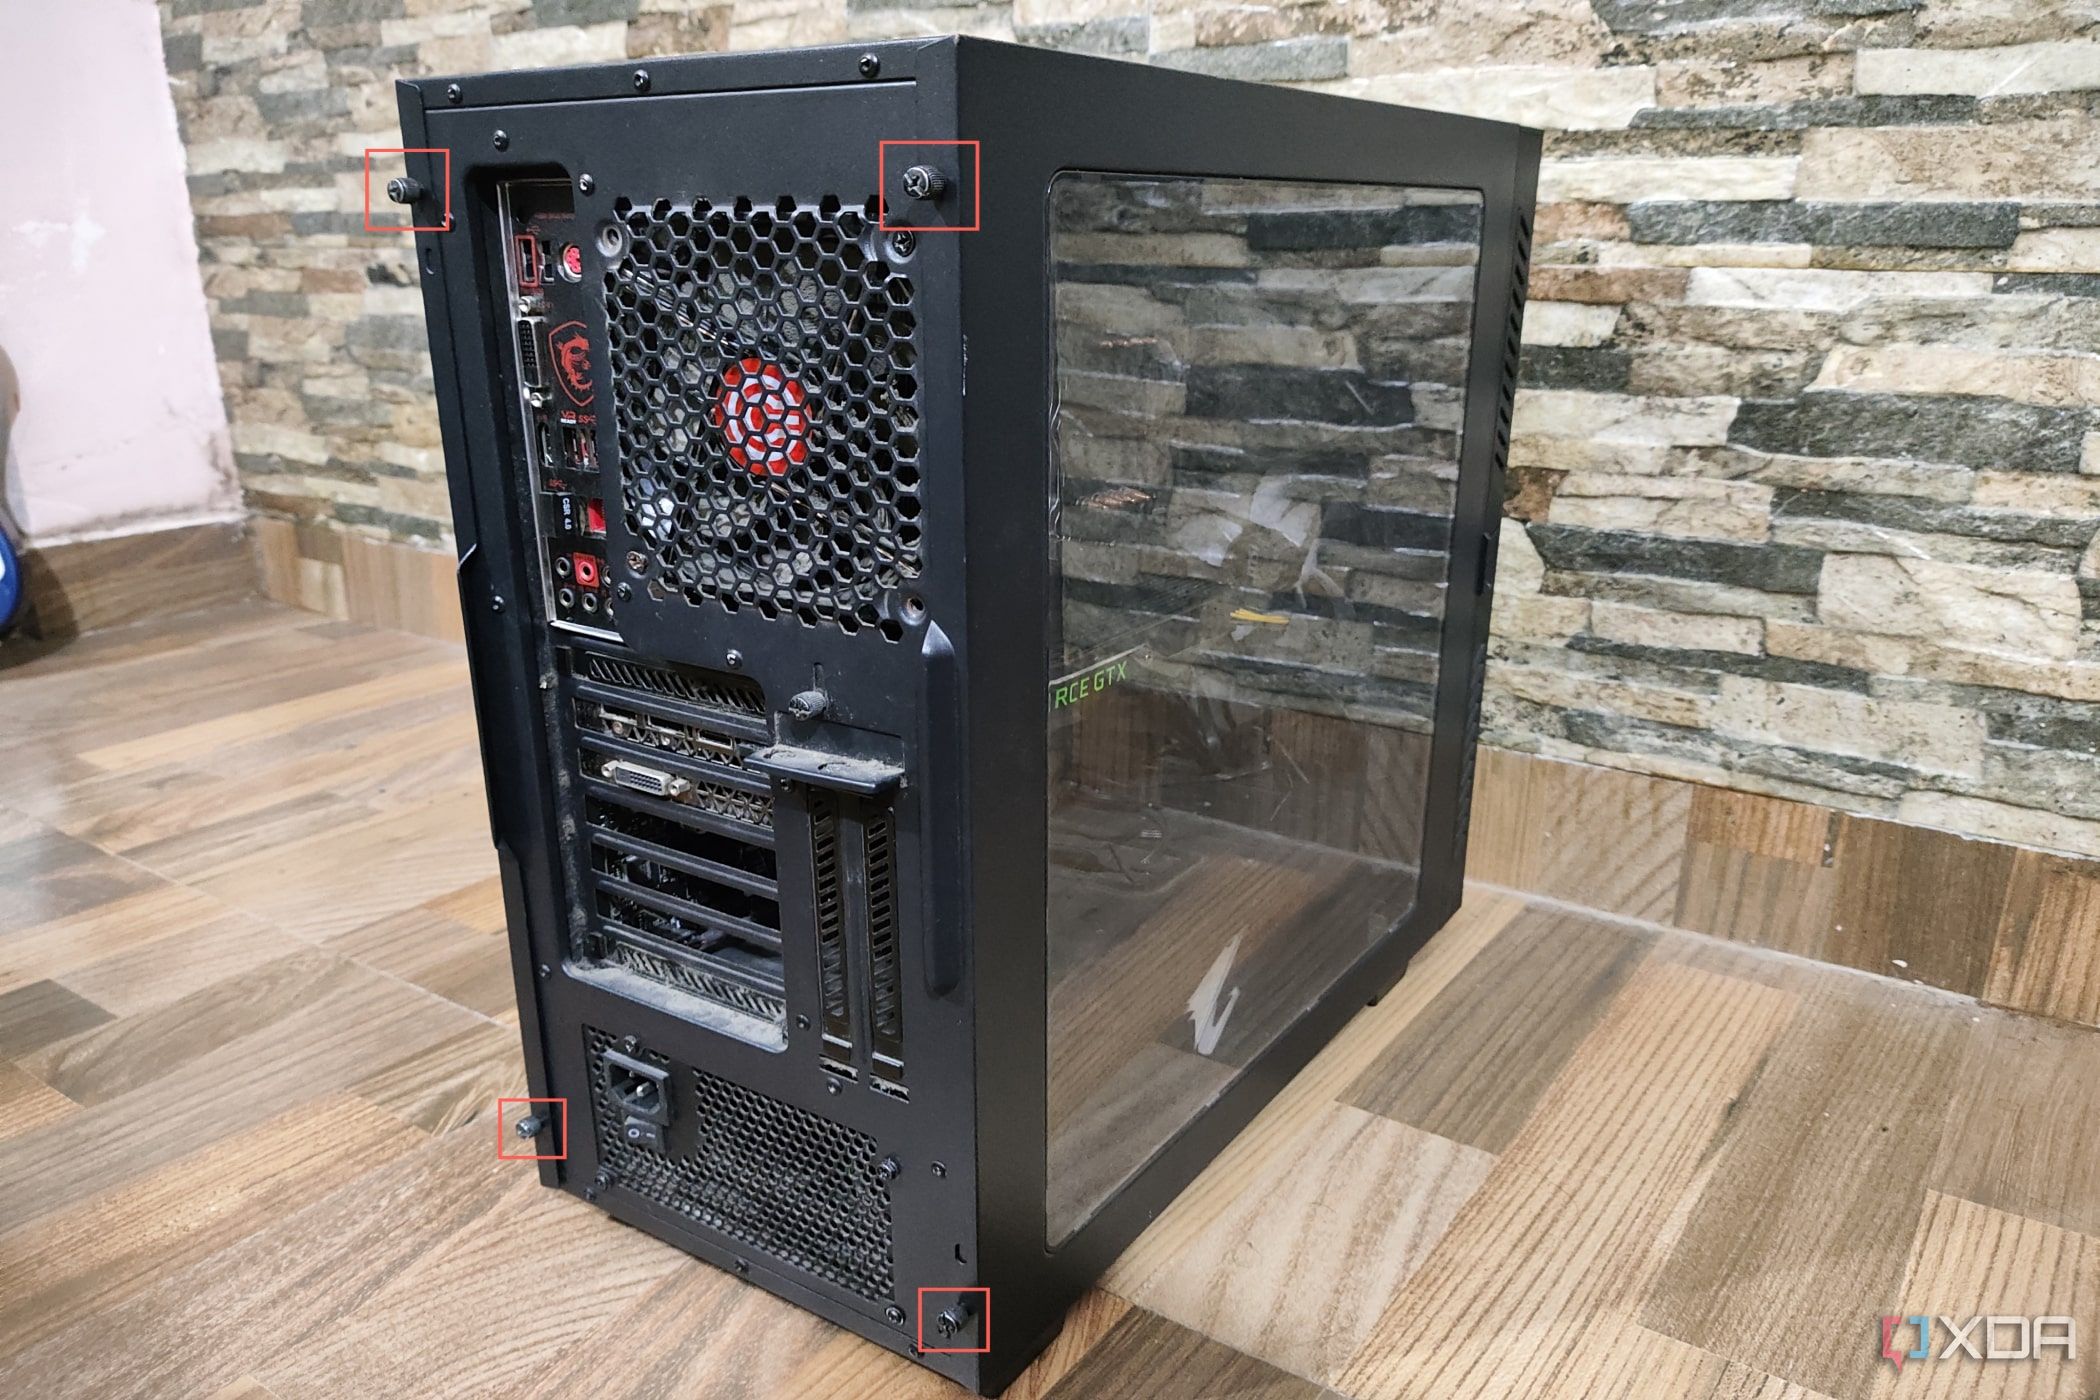
- Start by removing the side panels of your PC cabinet by unfastening the thumbscrews holding them in place.
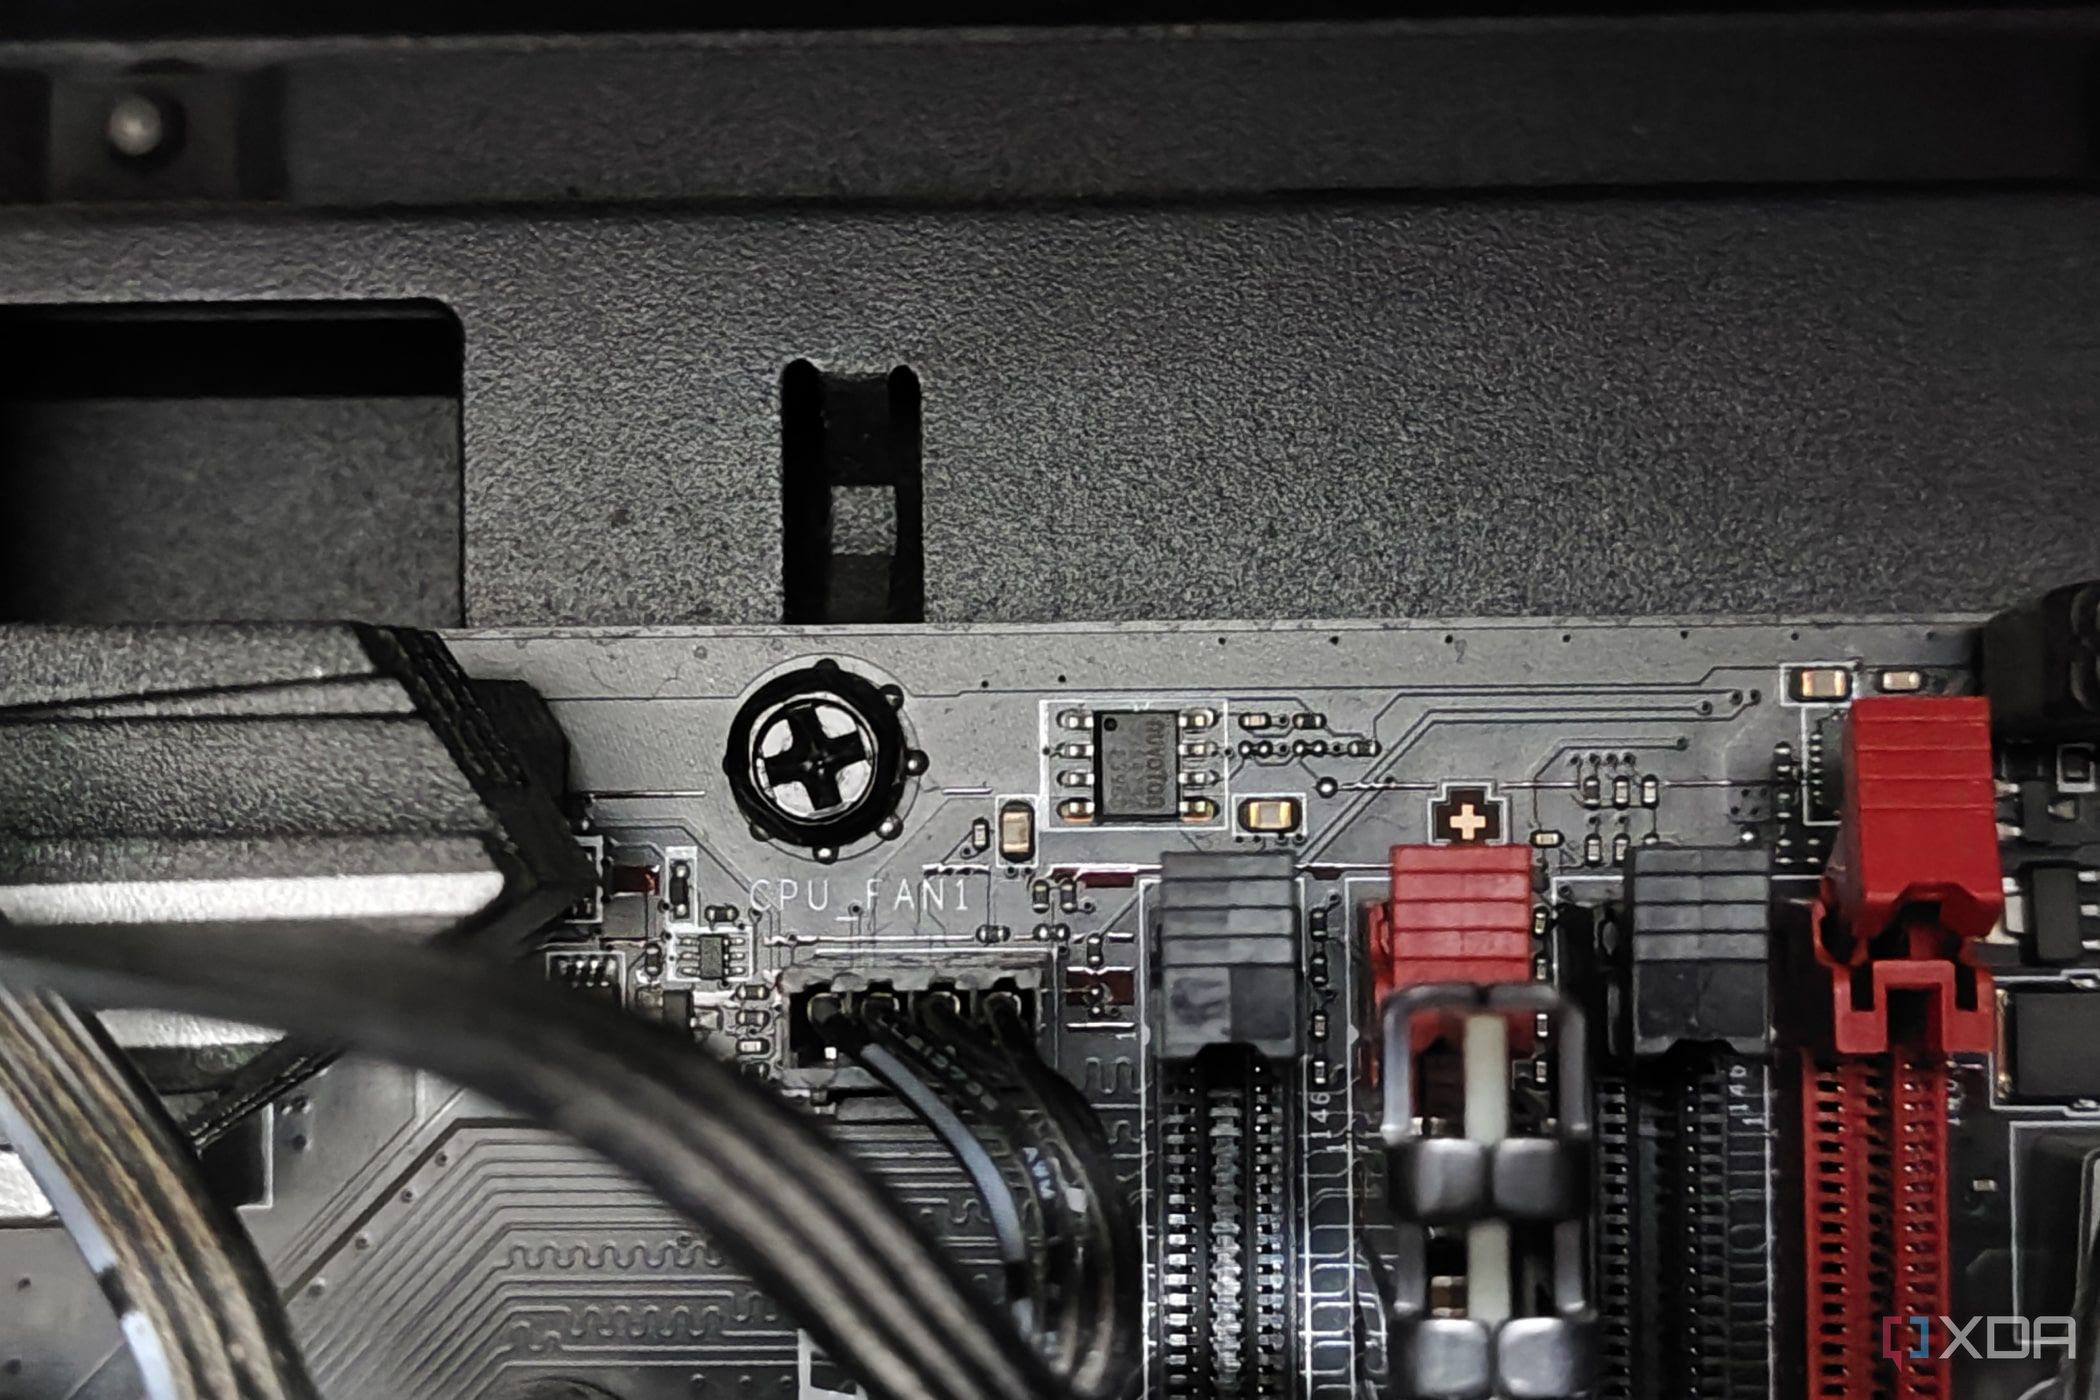
- Unplug the wire connecting the cooler to the CPU_Fan/CPU_Pump header on the motherboard.
- Loosen the spring screws of the heatsink in a diagonal pattern using a Phillips screwdriver.
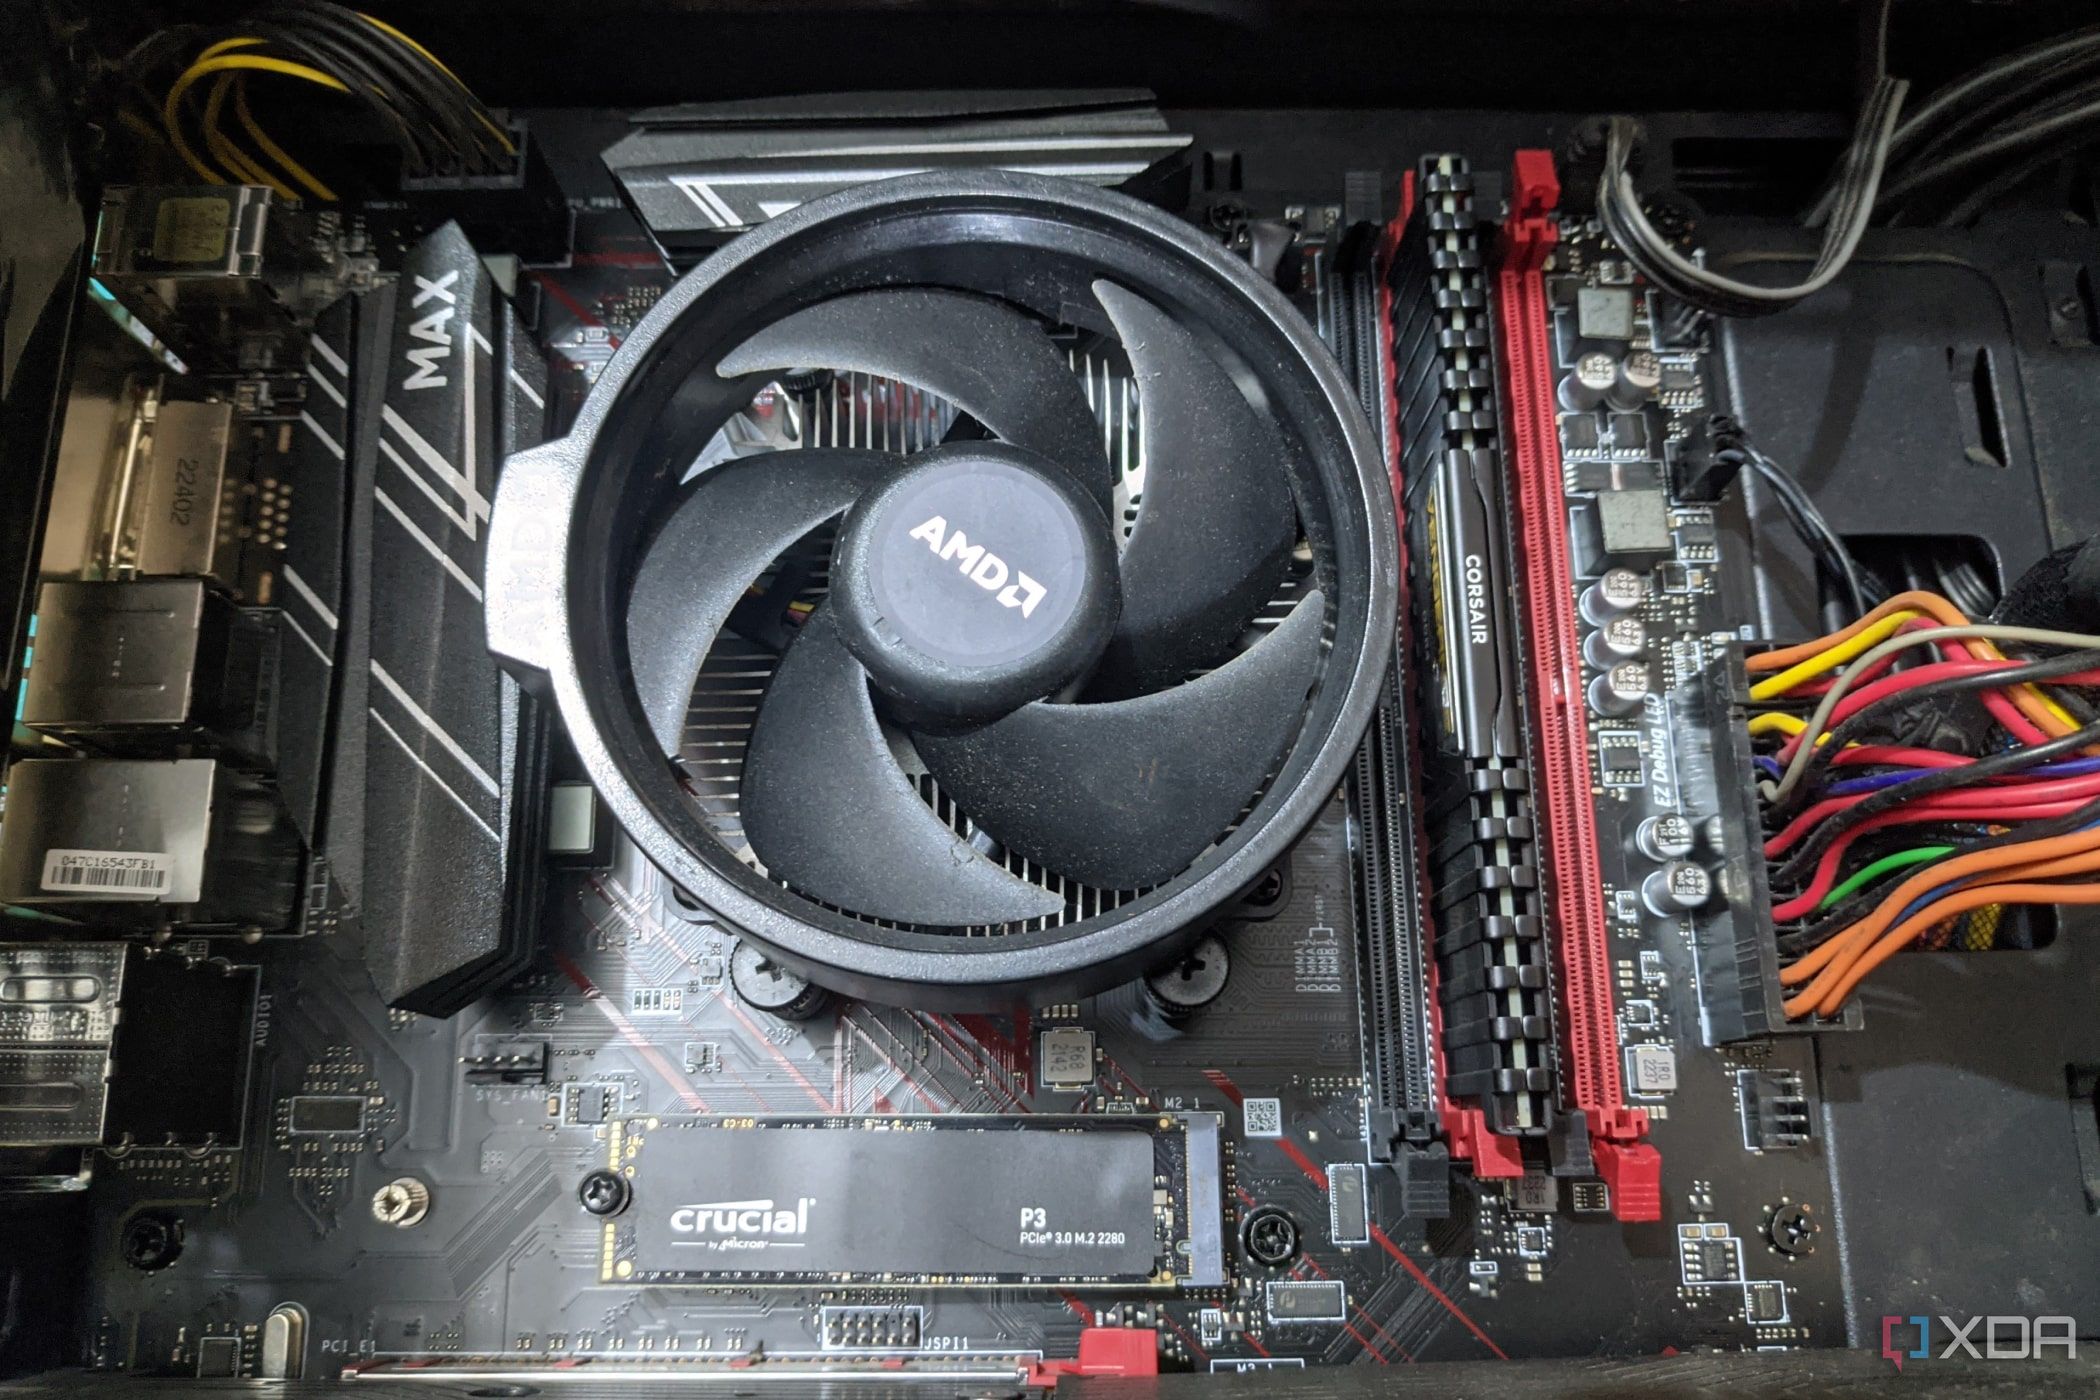
Alternatively, if your heatsink uses retention brackets, you should flip the cam lever up before releasing the retention clips on either side of the heatsink.
- Twist the CPU cooler away from the processor instead of pulling it out.


Once you unmount the cooler, you’ll be able to see a layer of thermal paste on the processor and the heatsink.
Cleaning the thermal paste

With the heatsink out of the way, it’s time to clean the thermal paste. Fortunately, this step is extremely simple as all you have to do is apply some isopropyl alcohol to a microfiber cloth/paper towel/coffee filter and use it to wipe off the thermal paste from the CPU and the heatsink.
If there’s some thermal paste buildup on the sides of the processor, you can dip a Q-tip in isopropyl alcohol and gently rub it along the edges.
With that, you’ve successfully removed the thermal paste from your CPU. If you’re planning to use your PC afterward, you’ll need to add some fresh thermal paste between the processor and its cooler. We have an in-depth guide on how to properly apply thermal paste that you should check out before putting fresh thermal paste on the processor.